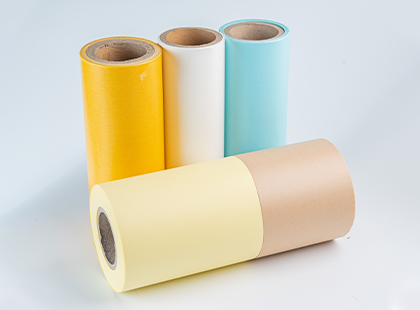
Release Paper

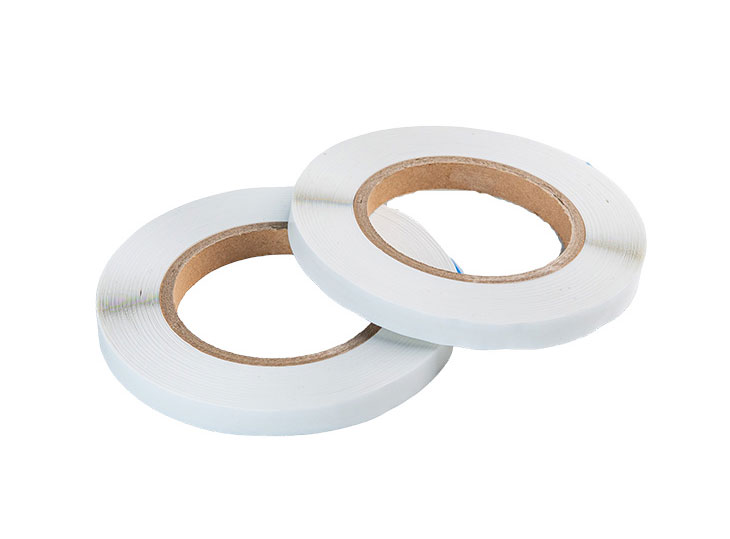
That moment of frustration when a chip bag won’t stay closed, or a craft project spills because the packaging failed—we’ve all been there. Resealable Bag Sealing Tape is the simple hero that solves this, turning any bag into a secure, reusable container. Think of it as a customizable zipper you can apply anywhere. While the industrial focus is on speed and consistency, the at-home magic lies in its versatility and the perfect seal you can achieve with a little know-how. This guide isn’t about production lines; it’s about empowering you to master a simple skill that extends freshness, reduces waste, and brings order to your daily life. Let’s transform how you seal, store, and save.
Think of your bag’s surface as a canvas—it needs to be clean for the paint to stick. Before applying the Resealable Sealing Tape, take 10 seconds to prepare. Wipe the sealing area with a dry cloth to remove crumbs, grease (like from snack bags), or dust. Ensure the surface is completely dry. For a truly strong bond, gently press out any wrinkles with your fingers. This crucial first step ensures the adhesive makes full and intimate contact, creating a foundation for a seal that lasts through dozens of open-close cycles, keeping your coffee fresh or your screws organized.
Here’s the secret to a tidy, professional look: don’t eyeball it. Unroll the Bag Sealing Tape and lay it across the bag’s opening. Cut a piece that extends about a quarter-inch (5-6mm) beyond each edge. This overhang does two things: it prevents the corners—the most common failure points—from peeling up, and it provides easy “tabs” for your fingers to grip when opening. Using sharp scissors for a clean cut avoids frayed edges, making the application smoother and the final product look thoughtfully crafted, not hastily patched.
Peel back the liner halfway to start. With a “printer’s eye,” carefully align the tape straight and parallel to the bag’s top edge. A great trick is to lightly tack the center of the tape first, allowing you to adjust and perfect the alignment before committing. Whether you’re placing it on the front panel or a flap, straight alignment isn’t just about looks; it ensures even pressure distribution and a consistent seal strength across the entire width. This step turns a functional fix into a seamless part of the bag’s design.
Now, transform placement into permanence. Starting from the center you just tacked, use your thumb to firmly smooth the tape outward toward the edges, pressing out any air pockets. Imagine you’re laminating an important document—steady, confident pressure is key. For extra credit, use the back of a spoon or a ruler to burnish the entire strip. This action “activates” the adhesive and ensures no spot is left behind. A properly locked-in bond feels smooth and flush to the touch, a sure sign your resealable closure is ready for duty.
The moment of truth. Remove the remaining liner, being careful not to touch the sticky surface. Fold the bag closed and press firmly along the taped strip. Now, test it like a customer would: open it with a satisfying peel. It should release cleanly without straining the bag. Reseal it—the adhesive should grip securely again. A proper seal will hold even when you gently shake the bag. This reliable peel-and-reseal performance is the core benefit, offering convenience that clips and twists simply can’t match.
You could just stick the tape on and hope for the best, but these five steps guarantee success. The difference lies in the details: the prepped surface prevents failures, the precise cut enhances durability and ease of use, the careful alignment ensures consistency, the firm pressure maximizes adhesion, and the final test gives you confidence. Mastering this process turns a roll of tape into a powerful tool for kitchen organization, workshop storage, and creative projects, ensuring every seal is as strong as the first.
Using Resealable Bag Sealing Tape effectively is a five-minute skill with everyday impact. It’s about more than just closing a bag; it’s about preserving freshness, organizing spaces, and eliminating frustration. By moving beyond a simple “stick-it-on” approach to follow these mindful steps, you harness the full potential of this ingenious product. So next time a bag fails you, don’t just roll it shut—equip yourself with this knowledge and create a seal that truly holds.

Unleash creativity, perfect release - choose SANLIN, specializing in the manufacture of release film and paper.