Release Paper

Diamond painting has become a popular hobby, captivating crafters with its sparkling results. Among all the tools and materials, release paper plays a crucial role in ensuring your diamond painting turns out perfectly. Let’s dive into how to use it effectively.
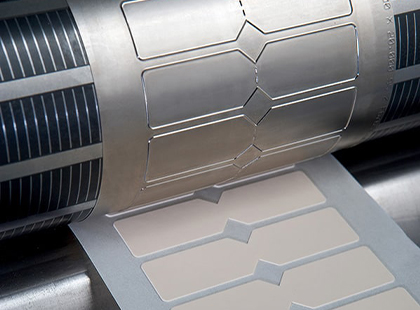
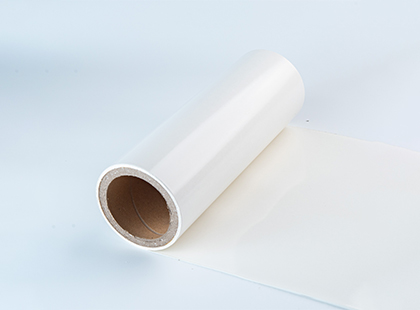
Release paper, also known as backing paper or protective film, is a thin sheet that covers the adhesive surface of your diamond painting canvas. It’s usually made of coated paper or plastic, designed to prevent the adhesive from sticking to anything until you’re ready to apply the diamonds. The paper has a non - stick coating on one side, allowing it to be easily peeled away while keeping the canvas adhesive intact.
Step 1: Prepare Your Workspace
Before you start, lay your diamond painting canvas flat on a clean, stable surface. A clutter - free workspace reduces the chance of accidentally dropping diamonds or getting dirt on the adhesive. Good lighting is essential; natural light or a bright, white desk lamp helps you clearly see the symbols on the canvas. Gather all your supplies: diamond drills, applicator pen, wax, and make sure your release paper is in good condition.
Step 2: Peel the Release Paper
This is a critical step. Begin by gently peeling back a small section of the release paper from one corner of the canvas. Start with an area no larger than 3x3 inches, especially if you’re new to diamond painting. Peeling a large section exposes more adhesive to air, which can cause it to dry out faster. If the release paper resists peeling, don’t force it. Instead, use a pair of tweezers to lift the edge carefully. Once you’ve peeled the section, fold the release paper back on itself, but avoid letting it touch the adhesive again.
Step 3: Pick Up the Diamonds
Dip the tip of your applicator pen into the wax. The wax acts as a temporary adhesive, allowing you to pick up the diamonds. When picking up a diamond, hold the pen at a slight angle and touch the tip to the flat back of the diamond. Make sure the diamond is firmly attached to the pen tip before moving it to the canvas.
Step 4: Place the Diamonds
Match the color of the diamond to the corresponding symbol on the canvas. Carefully place the diamond onto the exposed adhesive area, pressing down gently but firmly. You can use a small, flat tool like a credit card or the back of a spoon to press down on the diamonds, ensuring they adhere properly. Fill in the entire section you’ve peeled before moving on.
Step 5: Repeat and Finish
After completing one section, peel back another small area of the release paper and continue the process. As you work, periodically check the adhesive on the release paper - if it starts to look less sticky, it might be affecting the adhesion on the canvas. If this happens, you may need to use a new release paper or take extra care when placing the diamonds.
♦ Keep it Clean: The adhesive on the canvas is very sticky, and the release paper helps protect it. Avoid touching the adhesive with your fingers or any dirty objects. If dust or hair gets on the adhesive, use a piece of tape (sticky side down) to gently lift the debris away.
♦ Handle with Care: Release paper can tear easily, especially if it’s old or has been folded multiple times. If it does tear, try to keep the torn pieces away from the adhesive area to prevent any damage.
♦ Reuse Wisely: Some release papers can be reused if they’re still in good condition. After taking a break, cover the exposed adhesive with the release paper to keep it fresh. But if the paper has lost its non - stick quality or is dirty, it’s best to discard it.
♦ Store Properly: When not in use, keep your diamond painting rolled up with the release paper still covering the adhesive. This protects the canvas and ensures the adhesive stays sticky for your next crafting session.
With these detailed steps and tips, you’ll be well on your way to creating stunning diamond paintings, all while mastering the art of using release paper.

Unleash creativity, perfect release - choose SANLIN, specializing in the manufacture of release film and paper.